|
Before you can send an email
you must set up at least one email account. Once an
email account has been set up, you are now ready to start sending email. |
|
|
 |
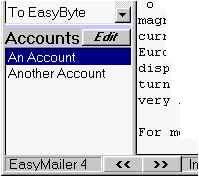
At the bottom left of the main
window you will find the Accounts box, select the account you wish to send email with.
Once an account has been selected, EasyMailer is now set up with that account. |
|
|
|
| Now you can send an email,
select the new message button on the toolbar, this is a picture of a pen on paper. |
 |
|
|
|
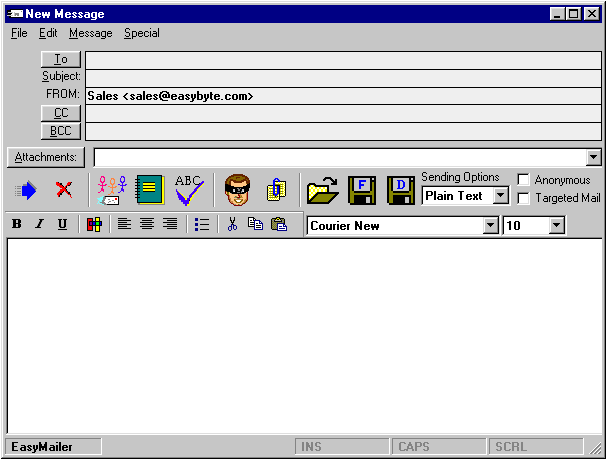
Once you have clicked on
that button, a window will appear, this window will allow you to edit your email. You will
notice that the From field has already been filled out, this is because of the account
that was selected.

|
|
|
You can now type out who
this email will go to, this done by either selecting an address from the address book, or just by typing in the email address. To
select a name from the address book, you can click on the little button that has To, CC,
or BCC on it. CC means Carbon Copy, and this email will be sent to the address on that
field also. The same applies to BCC (Blind Carbon Copy), except that with BCC, the receiver of the email will not see their address in any of the fields. You can also type out the subject at this stage. |
|
|
To type out the email, just
type what you want in the large editing area. At this stage you may use HTML formatting, use this feature just as you would use a word
processor, its that simple. |
|
|
| Once you have finished typing
out your email, all you have to do now is send it, that is done by clicking on the blue
arrow. |
 |
|
|
|
The email will be sent, and then saved in the outbox,
you are now ready to start sending more emails. |
|
|
|
|
|
|